Passport Photos & Visa Photo
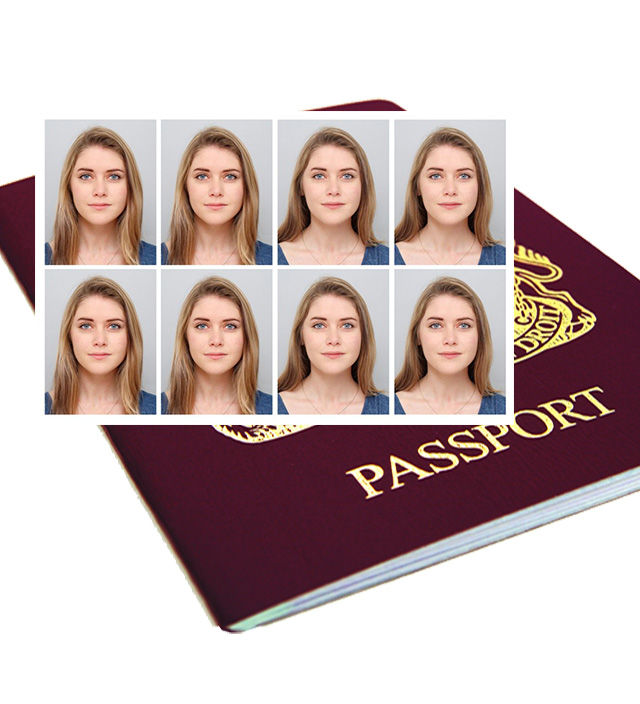
Passport Photos for all nations. We pride our self in taking good Visa and Passport Photos in Coventry. Please visit The Imaging Professionals studio at 173a Walsgrave Road, Coventry CV2 4HH or call 02476101687 / 07448404391 for help.

Design and Print
We provide fast design and print service. Yes, we can also design and print A4-A5 flyers, A2-A0 Posters, business cards, and order of service. Please visit The Imaging Professionals at 173a Walsgrave Road, Coventry CV2 4HH or Contact Us


Convert VHS to DVD
We are your right place to convert old videotapes such as VHSc, MiniDV tapes, Betamax, and VHS to DVD/USB. Please visit The Imaging Professionals at 173a Walsgrave Road, Coventry CV2 4HH. We have converted many VHS to DVD / MP4

Picture Framing Service
For top-quality picture framing service in Coventry, please visit The Imaging Professionals at 173a Walsgrave Road, Coventry CV2 4HH or Contact Us

Photo Scanning
Get your photos scanned to email or saved on memory stick. Ideal place for photo scanning to digital format and preserve forever. Please visit The Imaging Professionals at 173a Walsgrave Road, Coventry CV2 4HH
CD/DVD Duplication
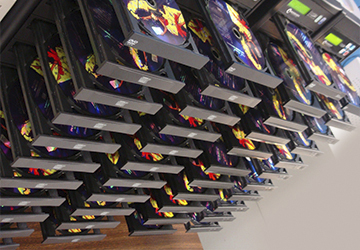
Come in for excellent DVD Duplication service. Visit us to get copies of CD, DVD or Blu Ray Disc made fast. Imagine being able to get 100 copies of a single DVD while you wait! Please visit The Imaging Professionals at 173a Walsgrave Road, Coventry CV2 4HH or Contact Us

35mm Slides Scanning Service
For slides scanning, get in touch with us. 35mm photo slides get scanned to digital file format such as Jpeg, PDF, TIFF and PNG. Please visit The Imaging Professionals at 173a Walsgrave Road, Coventry CV2 4HH

Stationery Printing
Business stationery printing. Instant plastic ID cards for your staff. Visit us to discuss your requirements. Please visit The Imaging Professionals at 173a Walsgrave Road, Coventry CV2 4HH or Contact Us
Scan to Digital, Print & Copy Shop
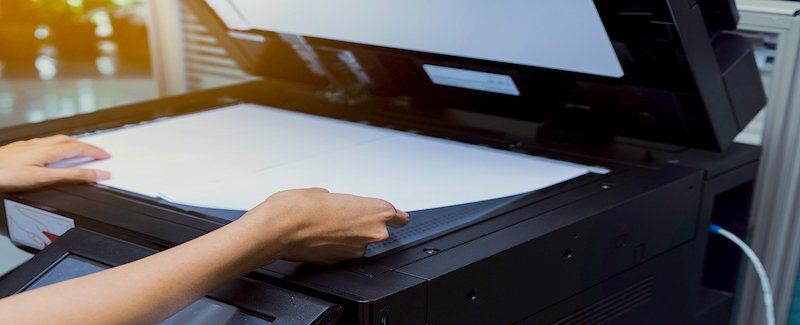
We are resourceful copy shop. We are the right place to get your important documents scanned to email fast. Bring in your documents to be scanned to digital formats. Please visit The Imaging Professionals at 173a Walsgrave Road, Coventry CV2 4HH or Contact Us

Order of Service
We create beautifully designed order of service cards for funerals or wedding. Customisable, printed on high quality paper stock and with fast delivery. Please visit The Imaging Professionals at 173a Walsgrave Road, Coventry CV2 4HH
T Shirt Printing
Bulk printers offering t-shirt printing in Coventry. Customisation made with love by The Imaging Professionals. visit 173a Walsgrave Road, Coventry CV2 4HH or Contact Us

Canvas Printing
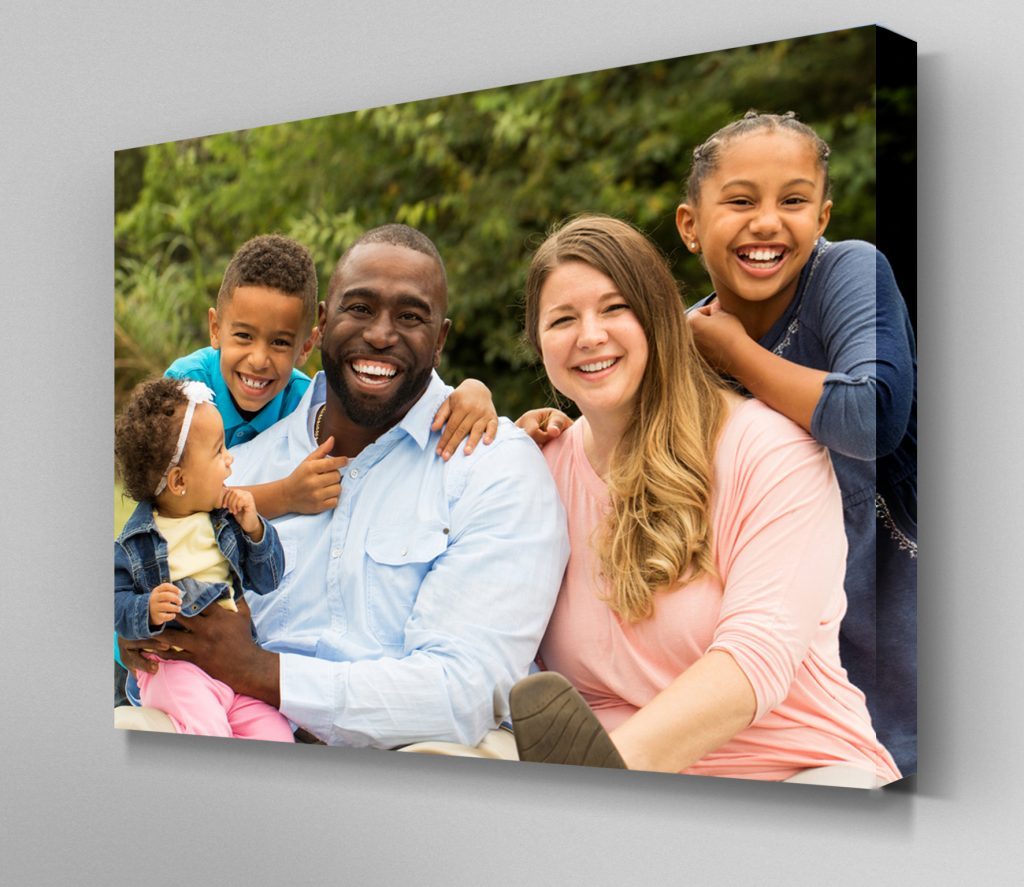
We can create your canvas print any size as all our canvasses are completely bespoke. The frames are made to order and our service is unbeatable. Please visit The Imaging Professionals at 173a Walsgrave Road, Coventry CV2 4HH

